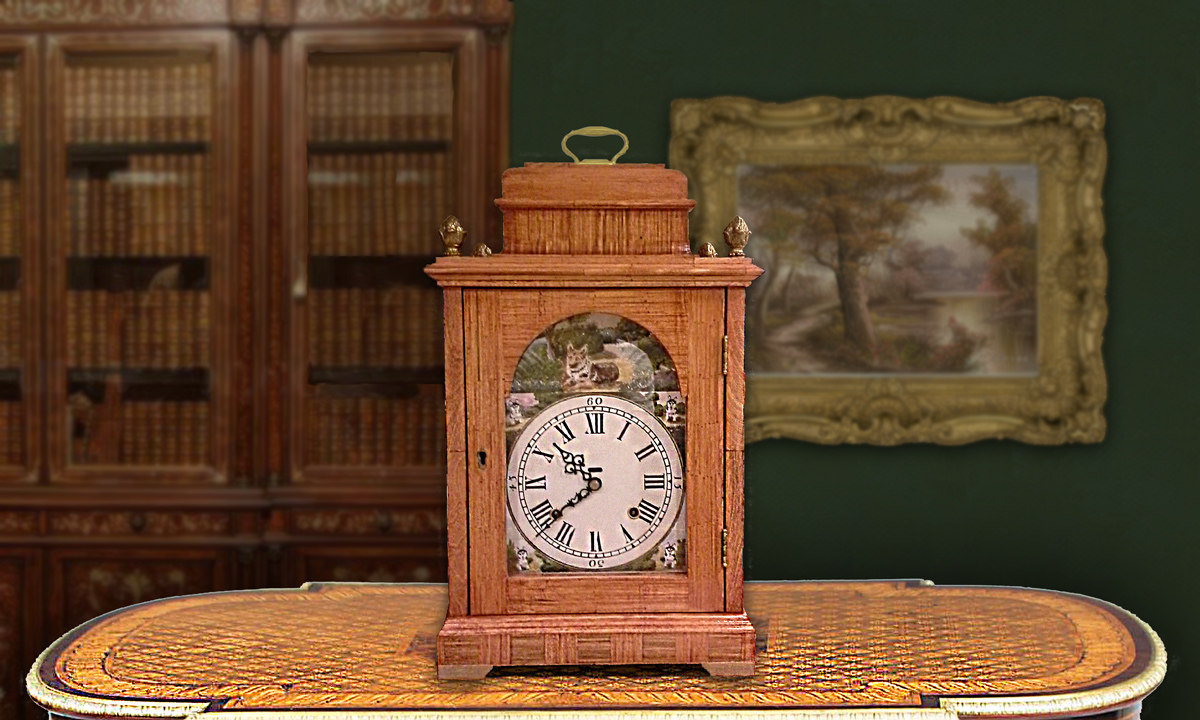
Final Assembly and Starting the Clock
Using a fine drill, screw holes were added to the corner of the dial plate plus one more near the top of the arch. Thumbtacks were then used to position the dial plate on the front board of the clock, carefully aligning the winding posts and dial shaft with the center of the holes. Then, on at a time, tacks were removed and replace with tiny wood screws (no need to predrill into the wood).
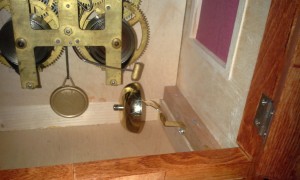
A bell from a junked battery quartz alarm clock was installed inside the case and carefully positioned so the movement strikes with a clear “ding” (below):
Finally, hands were added to the clock dial; there was no need to worry about positioning yet. When they were secured, it was time synchronize the hands. The minute hand was turned clockwise (if turning backwards or counterclockwise, NEVER turn past the 12 or 6 position!), until the clock struck and the hour was noted. If the minute is not already on the 12, it should be flipped around. Then hour hand was moved to point the corresponding hour; the hour hand may be turned in any direction as it is simply friction fit and will not affect the mechanism. The clock was wound-up and started by giving the pendulum an initial swing with a finger. The clock was now ready for the display.
Conclusion
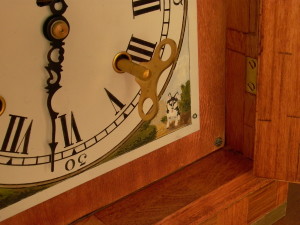 After the first 24 hours, the clock was 10 minutes slow. The speed was re-adjusted over the course of several days until finally, it keeps time to within ± 0.5 minutes per week. Sometimes it will run slow, other times it runs fast, but overall accuracy of this 140 year old movement is as good as (if not better than) a modern quartz movement.
Up to this point, I have not decided on what to use for the window of the back door. Possibilities include a glass window, a grille with bookbinding cloth similar to those used on the sides, a wire mesh with bookbinding cloth, or wooden fretwork. For now, I will leave it as it is.
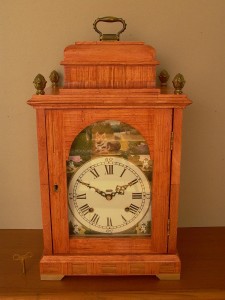
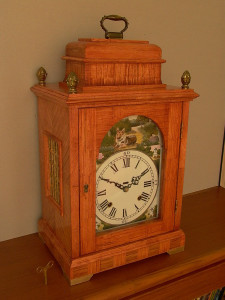
Currently, the clock sits on a table in my private library. I wind the clock once a week (the frequency will depend on your movement) and have not had to readjust the time for several consecutive weeks. Despite its humble beginnings as glued stacks of Popsicle sticks with “pre-school level” dollar store parts, it has a very high-end appearance that is decorative and beautiful, and at the same, a time fully functional timepiece; this work of art is worthy of getting passed-on to future generations.
If you enjoyed this article or any of the free tutorials on this website, of if you visit this site on a regular basis, donations helps to keep this site online.
For Further Reading
Barder, RCR. (1993). The Georgian bracket clock: 1714 – 1830. Woodbridge, Suffolk: The Antique Collector’s Club Ltd.
Bealer. AW. (1996). Old ways of working wood (revised edition). Edison, NJ: Castle Books.
Cescinsky H., & Webster, MR. (1913). English domestic clocks. London: George Routledge & Sons, Ltd.
Joy, Edward T. (1968). The country life book of clocks. Feltham, Middlesex: The Hamlyn Publishing Group for Country Life Books.
Lathrop, DH. (1996). To IV or not to IV: that is the question. Retrieved from: http://homepages.sover.net/~donnl/iiiivsiv.html
Lloyd, H. Alan. (1970). Old clocks (4th ed). London: Ernest Benn Limited.
Loomes, B. (1994). Painted dial clocks: 1770-1870. Woodbridge, Suffolk: The Antique Collector’s Club Ltd.
Pattou, AB, & Vaughn, CL. (1944) Furniture: furniture finishing, decoration, and patching. Chicago, IL: Frederick J. Drake & Co.
Turner, WJ. (Ed.). (1953). British craftsmanship. Northampton: Clarke & Sherwell Ltd.

